
- 1. 参考書籍
- 2. WordPress画像ファイルのサーバ移行
- 1. Netlifyへのアップロード(旧手順)
- 2. VPSサーバへのアップロード(新手順)
- 3. WordPressDBデータのエクスポート
- 1. 新形式で必要なデータの策定
- 1. カテゴリとタグ
- 1. WordPressのデータ構成
- 2. 新形式のデータ構成
- 2. 投稿データ
- 1. WordPressのデータ構成
- 2. 新形式のデータ構成
- 2. エクスポート処理の作成
- 4. Next.js上でデータを表示する
- 1. マスタデータの読込
- 2. マスタデータの表示
- 1. 記事一覧ページ
- 2. 記事ページ
- 5. その他の機能移行
- 1. CSSスタイリングの移行
- 2. サイドバーウィジェット
- 3. カテゴリや検索ワードによる絞り込み
- 4. ペジネーション
- 5. 記事内の外部スクリプト読込
- 6. 未実装の機能
- 7. おわりに
- ホーム
- 20231231_01_wp_to_next
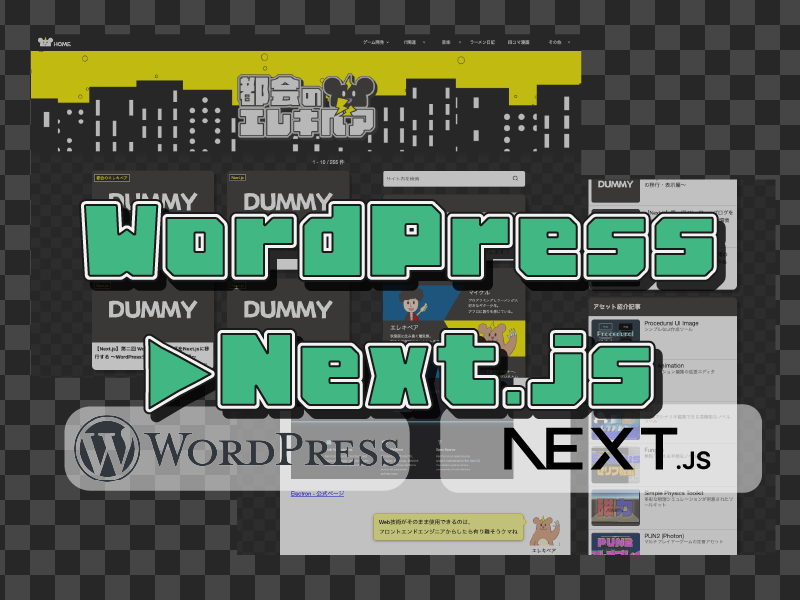
【Next.js】第二回 WordPressブログをNext.jsに移行する 〜WordPressデータの移行・表示編〜
Next.jsReactJavaScriptWordPress関連フロントエンド関連SSGStorybookEmotionNode.jsp5.js
2023-12-31
Next.jsReactJavaScriptWordPress関連フロントエンド関連SSGStorybookEmotionNode.jsp5.js
2023-12-31
記事をSNSで共有する
著者の各種アカウント
フォローいただけると大変励みになります!
フォローいただけると大変励みになります!
関連記事
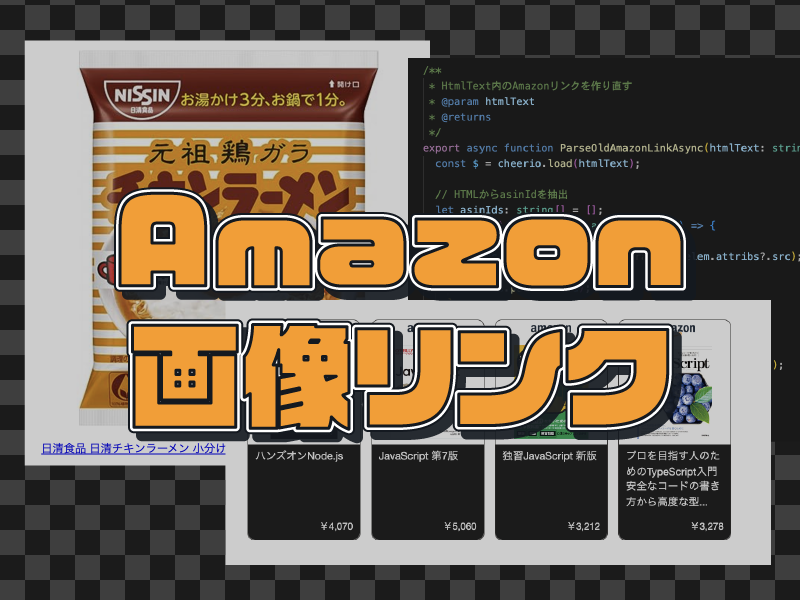
【Node.js】Amazonアソシエイトリンクの取得をPA-APIからCreators APIに移行する
2026-07-20
【Astro × Three.js】エンジニア向けポートフォリオサイトを作る【Plasmo Portal】
2026-06-08

【Three.js】カスタムシェーダーでトゥーン+背面法アウトラインを実装する
2026-02-15
【Three.js】Three.js入門 - シーン構築・モデル読み込み・ポストプロセスまで
2026-02-15
【Astro】Astroの使い方と複数UIフレームワーク(React、Vue、Svelte)を組み合わせるサンプル
2026-02-01
【Houdini21.0】3Dビル群っぽいブログヘッダー画像を作成する
2026-01-10
【VSCode】ドラッグ&ドロップで画像ファイルをリサイズ・保存する拡張機能を作る
2025-11-22
【ゲーム数学】第十回 p5.js(+α)で学ぶゲーム数学「複素数とフラクタル」
2025-11-02