
- ホーム
- 20201115_01
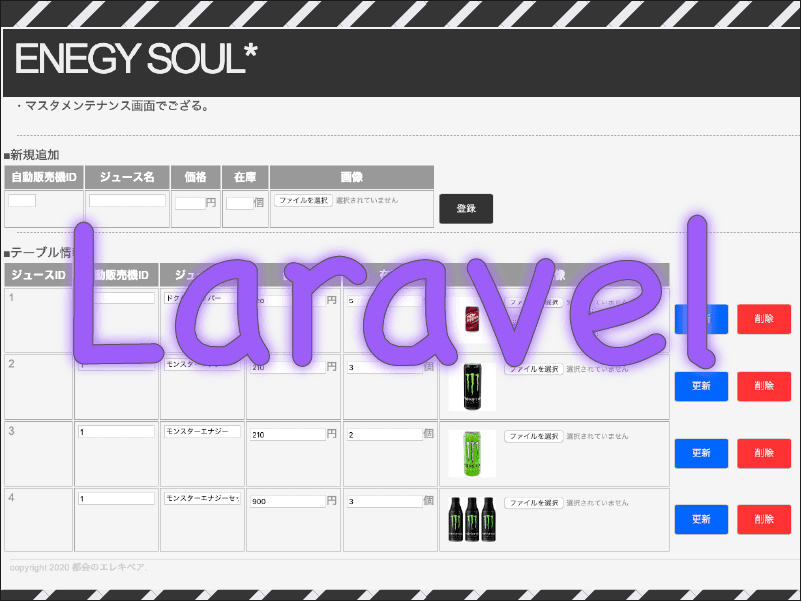
【Laravel】第二回 自動販売機システムを作ろう! 〜マスタメンテナンス画面の作成〜
Laravelサーバサイド関連
2020-11-15
Laravelサーバサイド関連
2020-11-15
関連記事
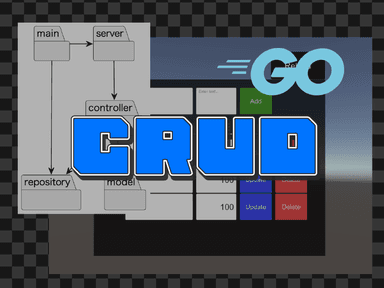
【Go言語】Gin、GORMでシンプルなREST APIを作成する【CRUD】
2024-03-26
【Rails7】Ruby on Rails7で主要な機能をtodoアプリで学ぶ
2022-11-10
【Rails7】Ruby on Rails7のローカル環境構築とScaffoldでのアプリ作成
2022-11-06
【ブログ改造計画】公開中のブログをGit管理して開発環境を構築する【WordPress】
2022-04-27
【ブログ改造計画】WordPressの基本機能とDocker環境の構築について【WordPress】
2022-04-24
【NAS】QNAPのNASで最低限しておくべきセキュリティ設定
2022-02-21

【Unity】UnityWebRequestを使ってCRUD機能を実装する【Ruby on Rails】
2021-12-12
【Docker】Dockerの基本的な使い方についてまとめる
2021-05-02